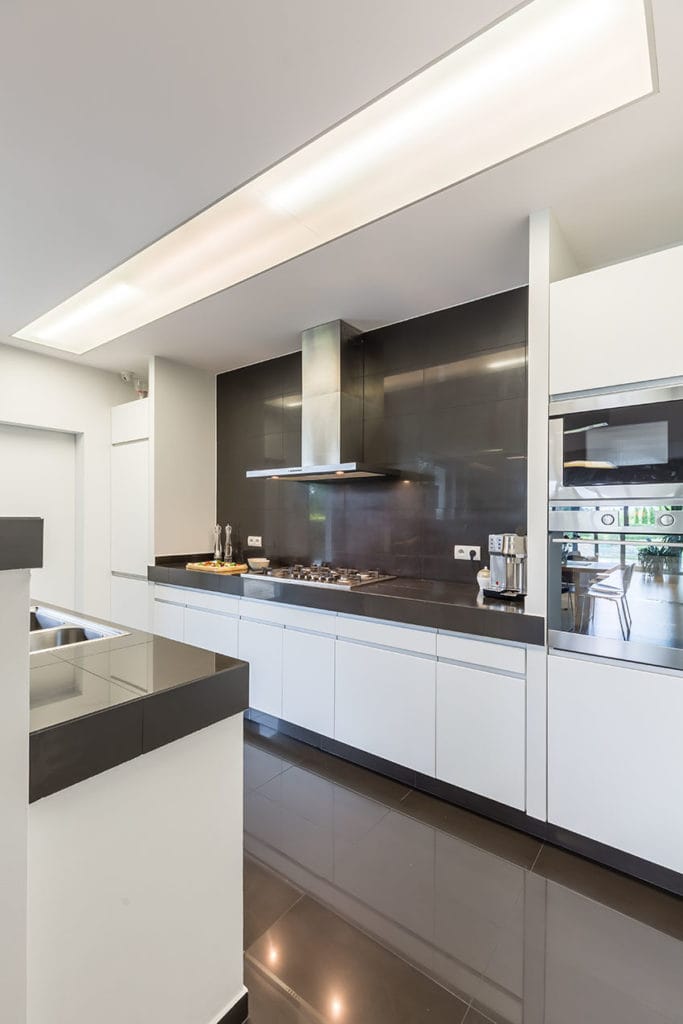
Kitchens and bathrooms are two of the most popular remodeling project architects builders are hired for, and a condo kitchen is no different. If you are thinking of upgrading yours, here is a step by step guide on how you should proceed for minimum hassle.
Step 1 – Make Sure You Have A Clear Idea As To What You Want To Achieve
Never go into a remodeling project just because. There must be a valid reason for you to be investing in such a big endeavor, not to mention the funds for the job. Having a goal to look forward to will make the home improvement project enjoyable too.
Step 2 – Start With Tearing Down Any Walls So That You Have A Clean Slate
Before you can begin any remodeling project, you need to get any hindrances out of the way so that your idea can be realized. And when we say hindrance, we mean any walls, flooring and in some cases, the ceilings too. Demolishing these will give you a clear space to work with.
Step 3 – Get Any Rough-In Work Like Framing And Plumbing Taken Care Of
Now that you only have the boundary walls and the raw flooring left on the kitchen, it is time to get the plumbing done in accordance with your new plan. This is also a good time to get the framing and measurements for where the new walls, cabinets, island if you have any, and sink will go.
Step 4 – Get A Professional To Inspect The Kitchen At This Stage For Safety
Once the plumbing, both for water and gas as well as all electrical wiring has been taken care of, it is time to seek the services of a professional inspector to make sure that everything is in accordance with local safety rules and regulations. Doing so at this stage will make sure that any errors can still be remedied.
Step 5 – Erect New Walls And Get Them Finished With The Right Paint Coat
With the inspection out of the way, you can now proceed with any walls that will be used for sectioning your kitchen. But the walls cannot go raw, so once that is done, get started on the coat of paint, which you have to make sure is the right type to be used on kitchen walls, where heat and spills will be a common occurrence.
Step 6 – Install Doors And Windows In Order To Ensure Proper Ventilation
If you have gotten a professional to approve your plan, the home builders or contractors must have directed you to the ideal location to place your doors and windows to ensure air flow in a way that it keeps the place ventilated without affecting cooking flame and temperatures in the kitchen. The windows also play a role in allowing light in.
Step 7 – Get The Sinks, Fixtures, Stoves, Counters And Cabinets Installed
At this point you can see your kitchen gradually taking shape and all that is left is to get the fixtures in place before you can call it a proper kitchen.
Step 8 – Bring In Your New Appliances Keeping The Theme Of The Kitchen
The last piece of equipment that will go into your newly remodeled kitchen before you can use it are all the appliances. You can either go for concealed solutions for a more streamlined look, or place them out on the counter depending on how often you use them.
Taking on any remodeling project is an important responsibility, and that is even more true for a condo kitchen as it is one of the most important spaces on any property. By carefully following the above points in order, you can ensure that your project goes smoothly.
Even if you run into any hiccups along the way, and realistically speaking you will, having a set of steps to refer back to will help you immensely and prevent you from panicking if things don’t seem to be going exactly according to your expectations, because panicking in such a situation can have detrimental effects on the overall outcome of your project. The key is to go in with a clear head, full preparation, and condo remodeling DC experts. Having a contingency fund will ensure some peace of mind as well.


